You can add supplemental material and attach it to specific curricula courses. This material can be a website, a file uploaded via your computer, or material uploaded directly from the Content Library.
Navigation: UKG Pro Learning > Training (hover) > Curricula
- Find the Curriculum in question.
- Select Manage.
- Select Courses.
- Select Supplemental Material.
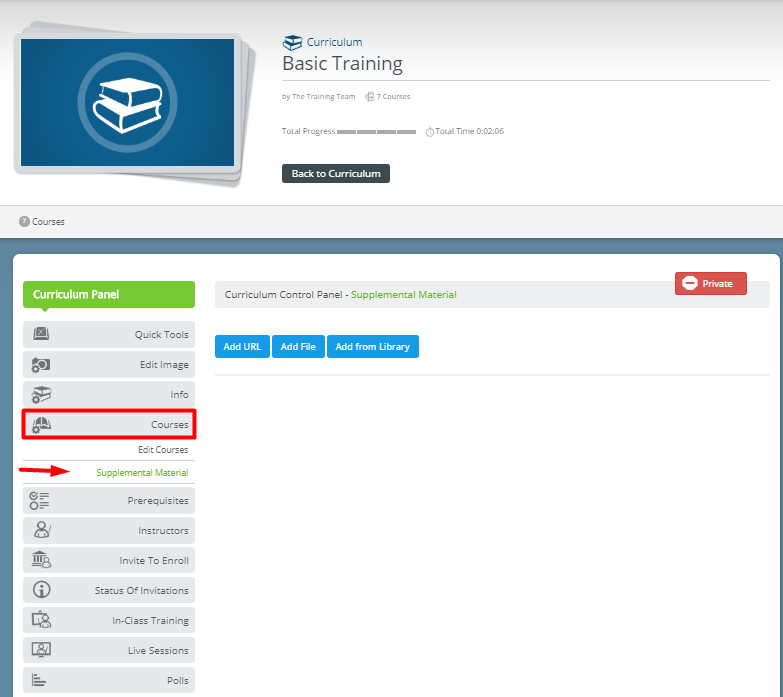 You can choose to Add URL, Add File, or Add from Library.
 - Once you select the type of material to add, a pop-up window will open that will show you a list of the courses included in the curriculum, including a Tied to Course option. Select if you want your supplemental material to be attached to a specific course.
- Select Next.
- Add a Title, a Description and/or tags if needed, and Save.
Your supplemental material has been added under the Supplemental Material tab and you will still have the option to edit, delete, or move it to another course within the curriculum or mark it as Not tied to course.
Members will have the option to access all supplemental material under the Supplemental Material tab. There they will be able to search based on which course the material is attached to. Feel free to use the language filter, sort supplemental material alphabetically, or select a date to limit your results.
Note: Supplemental materials that are connected to a course will also show in the Course Tab.